4 Ways to Ensure Solar Panel Installation Doesn’t Damage Your Roof
Many homeowners have the mistaken impression that they can’t install solar panels on the roof because of the potential for roof damage. But the reality is that when you know which types of damage to watch out for and how to prevent them, you can practically eliminate this issue.
Here are four ways you can protect your roof from the potential hazards of solar panel installation.
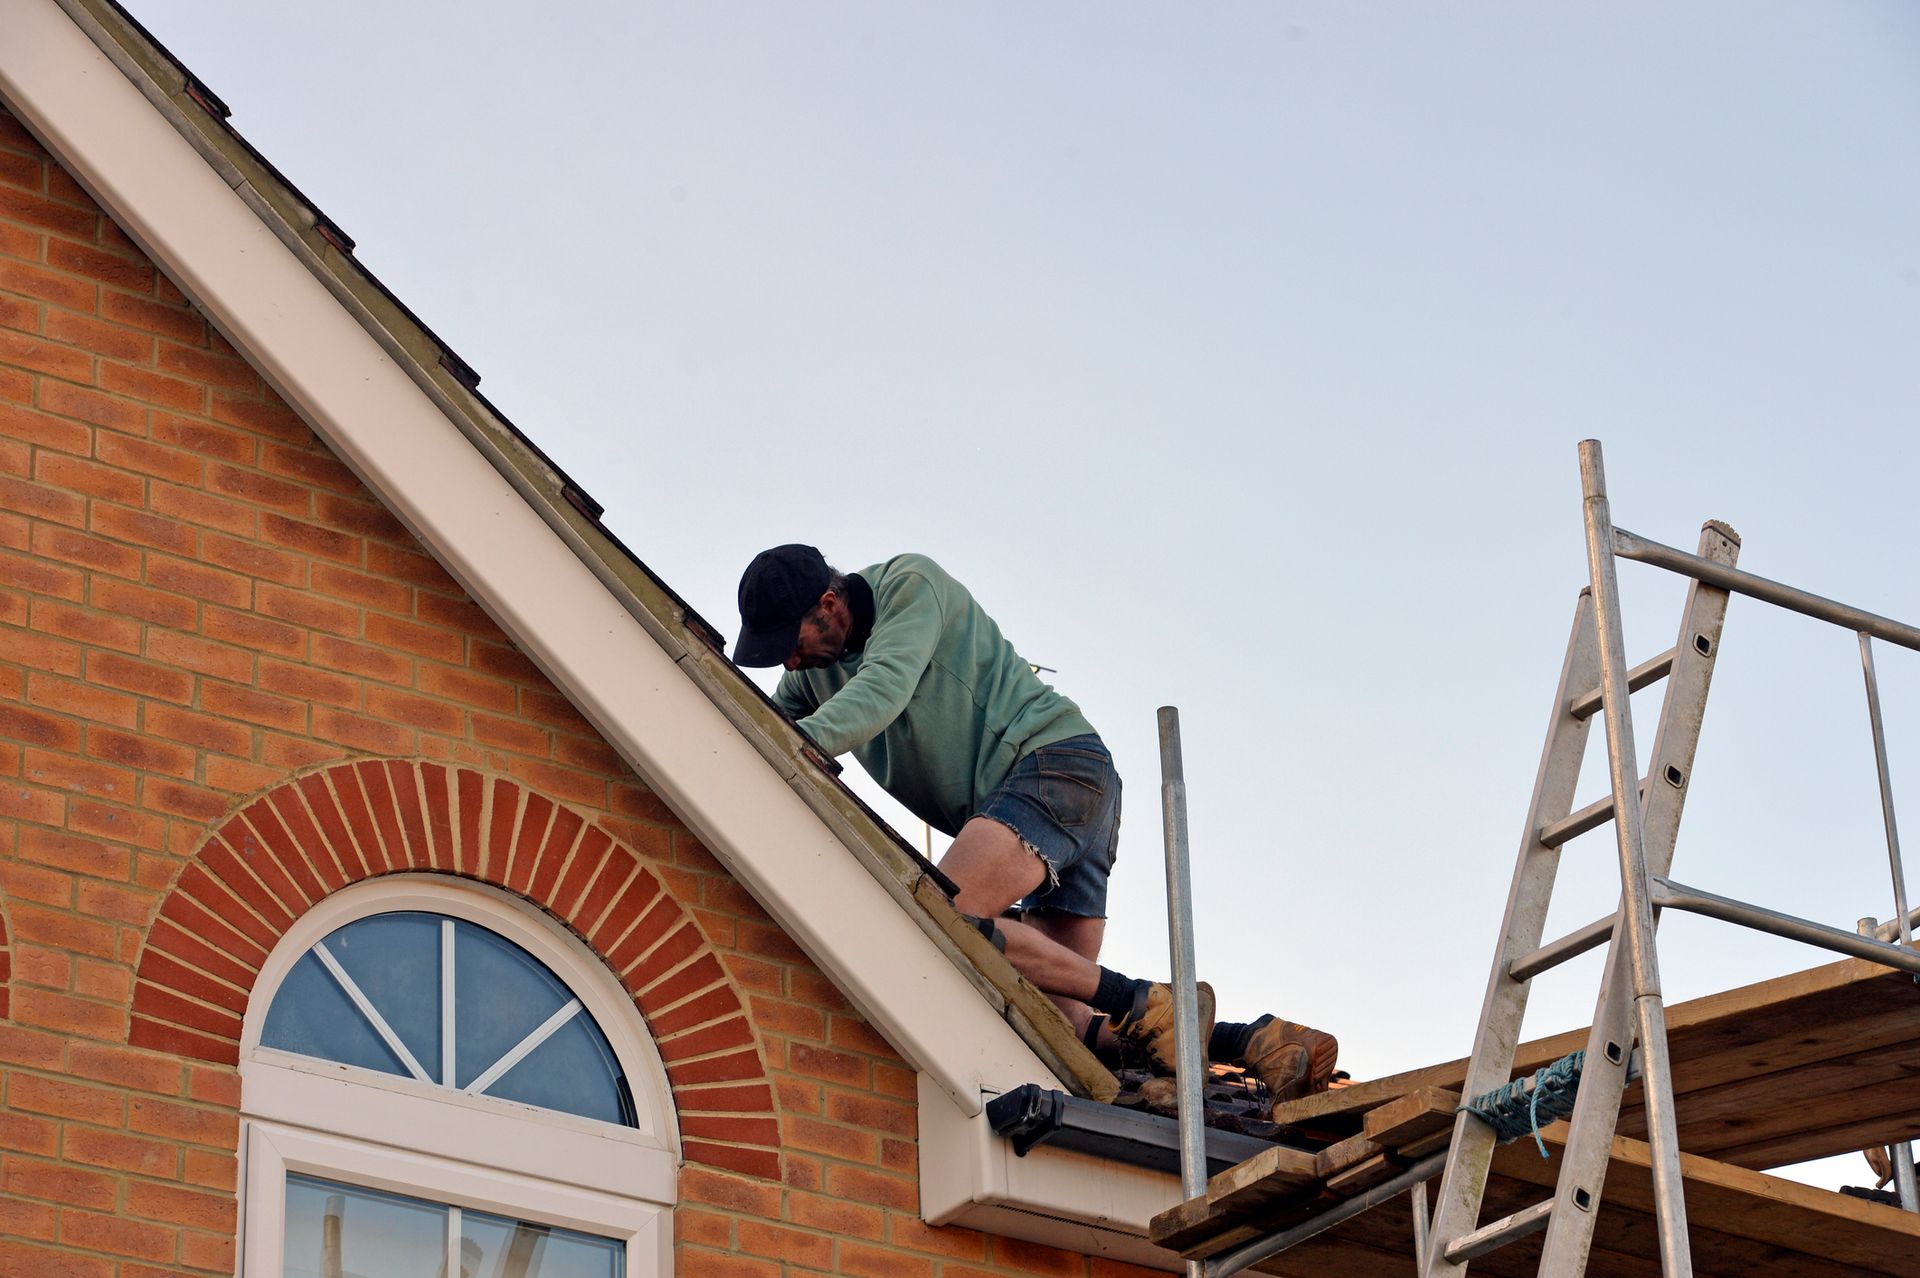
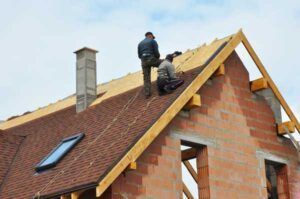
1. Add Solar Panels During a Roof Replacement
Older roofs are more susceptible to damage from solar installation. For one thing, older asphalt shingles will be more brittle. Over time, they lose the granules designed to protect them from UV damage, and the UV damage makes the asphalt tar lose its elasticity. Additionally, an older roof may already have problems that could be exacerbated by walking on it.
Another reason to replace your roof at the same as (or just before) your solar installation is because of expected lifespans. Your solar panels will last around 25 or 30 years before declining significantly in their ability to produce energy.
If you install the panels on a roof that only has ten years of life left, you’ll likely run into extra problems and expenses. Replacing your roof when it has solar panels on it means uninstalling and then re-installing the panels, which can be quite expensive.
2. Choose a Roof Type That Allows No-Drill Installation
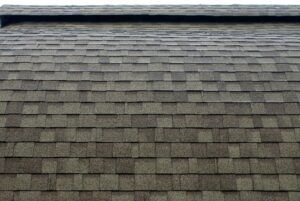
The fastening system is often a significant cause of roof damage on roofs with incautious or inexpert solar panel installation. On a typical asphalt shingle roof, the solar panels are anchored by drilling holes in the roof, since asphalt shingles offer no structural support. This increases the number of places on your roof where leaks can develop.
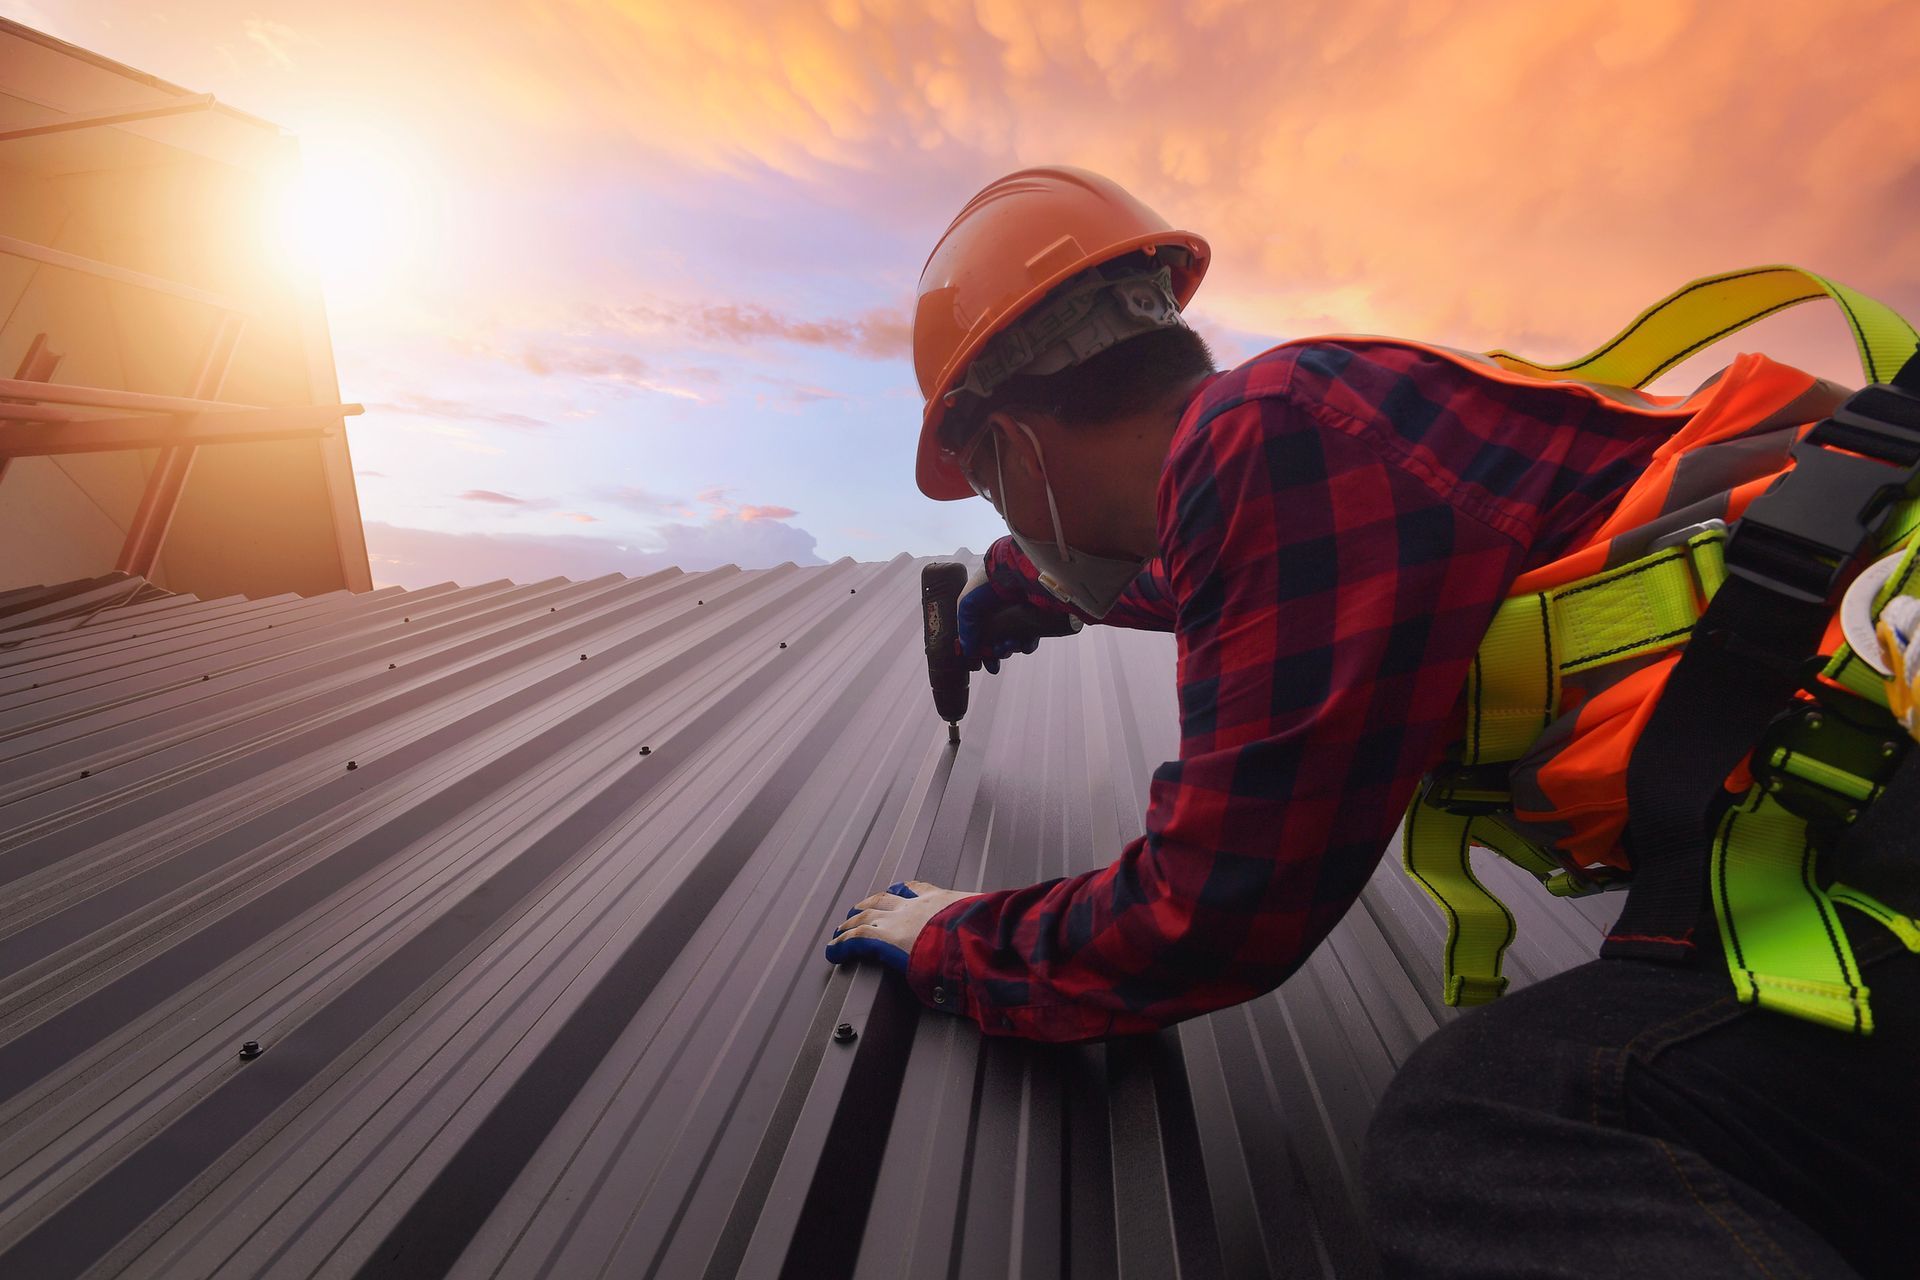
One way to avoid the drilling problem is to install a standing seam metal roof. This type of roof allows you to install snap-in support grids for the solar panels. The metal roofing material provides enough structural support for the panels without drilling.
A flat roof can also allow a non-drilling option that holds the panels in place using ballast.
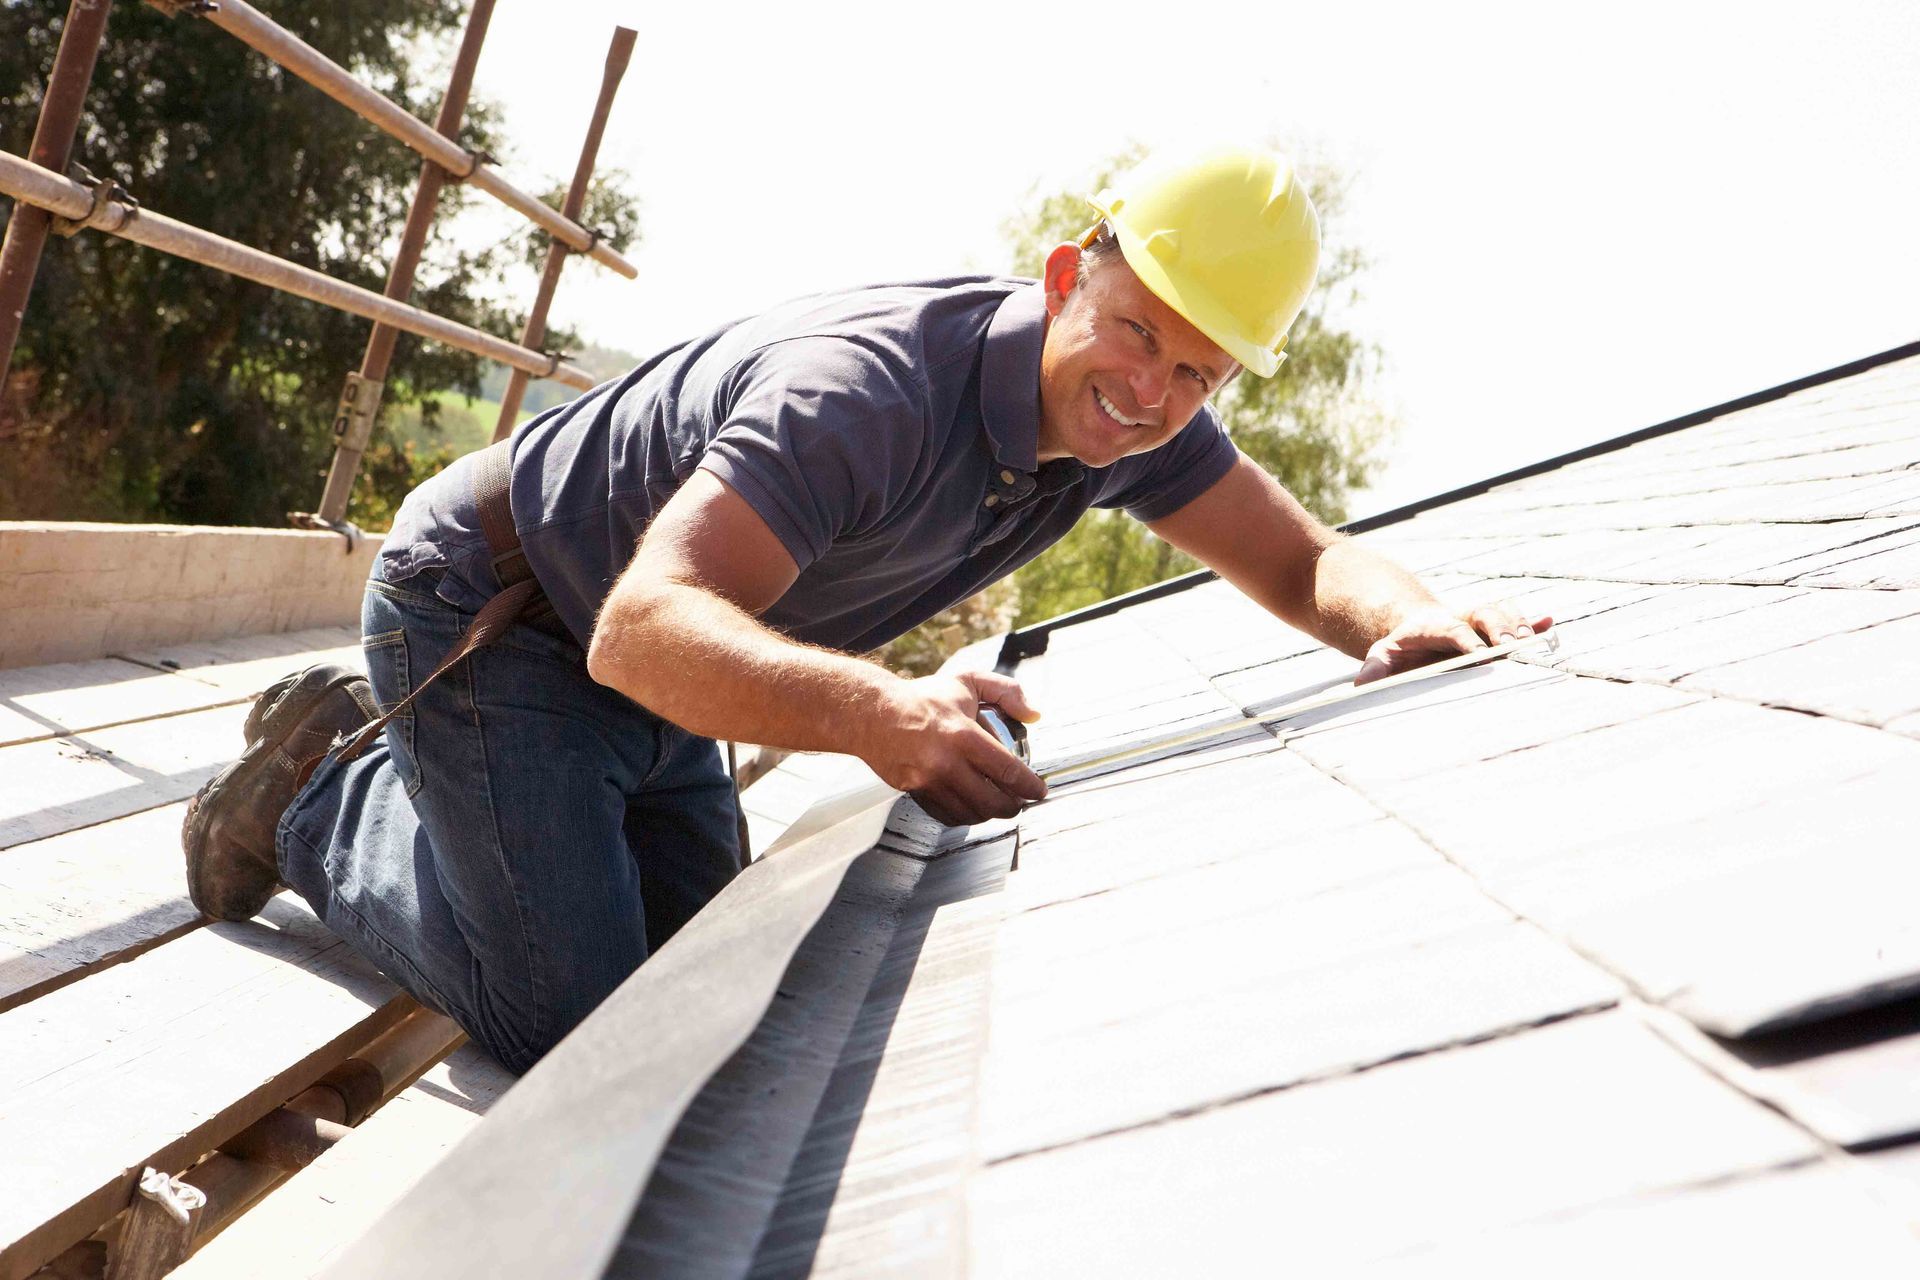
3. Have a Professional Check the Flashing, Drainage, and Roof Condition
Assuming you find a great, high-quality professional to install your solar panels, they’ll be sure to add flashing to any holes they drill. But you’ll still want to have your roofing contractor come out to inspect the work afterwards.
Your roofer will make sure the panels have proper flashing and fix up any flashing issues. They can also check to make sure the installation won’t impede drainage from the roof. Water ponding or retention is a sure way to get a leak, so this is a critical step.
And finally, the roofer will check to make sure the solar installers didn’t accidentally damage the roof surface.
4. Inspect the Panels and Roof Regularly
Finally, your solar panels and the roof itself will need to be professionally inspected on an ongoing basis to catch any problems as they arise.
Frequent roof inspections can help ensure that the solar panel flashing stays in good condition and that no other damage occurs.
Your solar panels should also be inspected regularly. Because they have electrical components and are exposed to the elements, you’ll want to enlist a qualified solar panel expert for this job. The inspections should happen at least once every five years and up to a frequency of once per year if you’d like to be extra cautious.
These four options can help you choose the best and most relevant methods for your roofing system to protect it from any potential damage during or after the solar panel installation process. For more information on what solar panel flashing should look like or the best roofing materials for a solar array, get in touch with D.S. Bahr Construction, Inc. , today.
The post 4 Ways to Ensure Solar Panel Installation Doesn’t Damage Your Roof appeared first on D.S. Bahr Constraction, Inc.